Wednesday, December 22, 2010

Tellen's Place Blog Hop- Grinch Dunce Hat

Hi everyone! Well, it's been a chaotic spread of days at my house to say the least. Not only am I playing catch up on making and finishing gifts, but Friday night we had someone try to break in to our home at about 3:00 in the morning. Scary!!! I won't tell you the whole story, but nobody was hurt and nothing stolen, thank goodness.

Anyway, in the midst of all of this, I just had to take some time to play with an extremely cool Tellen's Place image for today's hop. It was kinda therapeutic to sit down and make this project; it was a joint effort with my 11 yr old daughter and we just relaxed and had fun with it!

Did I mention that Tellen's Place is one of our fabulous sponsors over on the S&S Forum this month?!?!! Head on over to participate in a challenge and you may have the chance to win an awesome digi image like this one!
For our dunce hat we used Hades, which is probably my favorite image from Tellen's Place, so thank you so much Terry for letting me use him!!!! He's a fave amongst my kids too, and I had to print out several for them to just color up. In my opinion, not only is he a bad*ss monster, but he makes a fabulous grinch!
*click pics for larger views


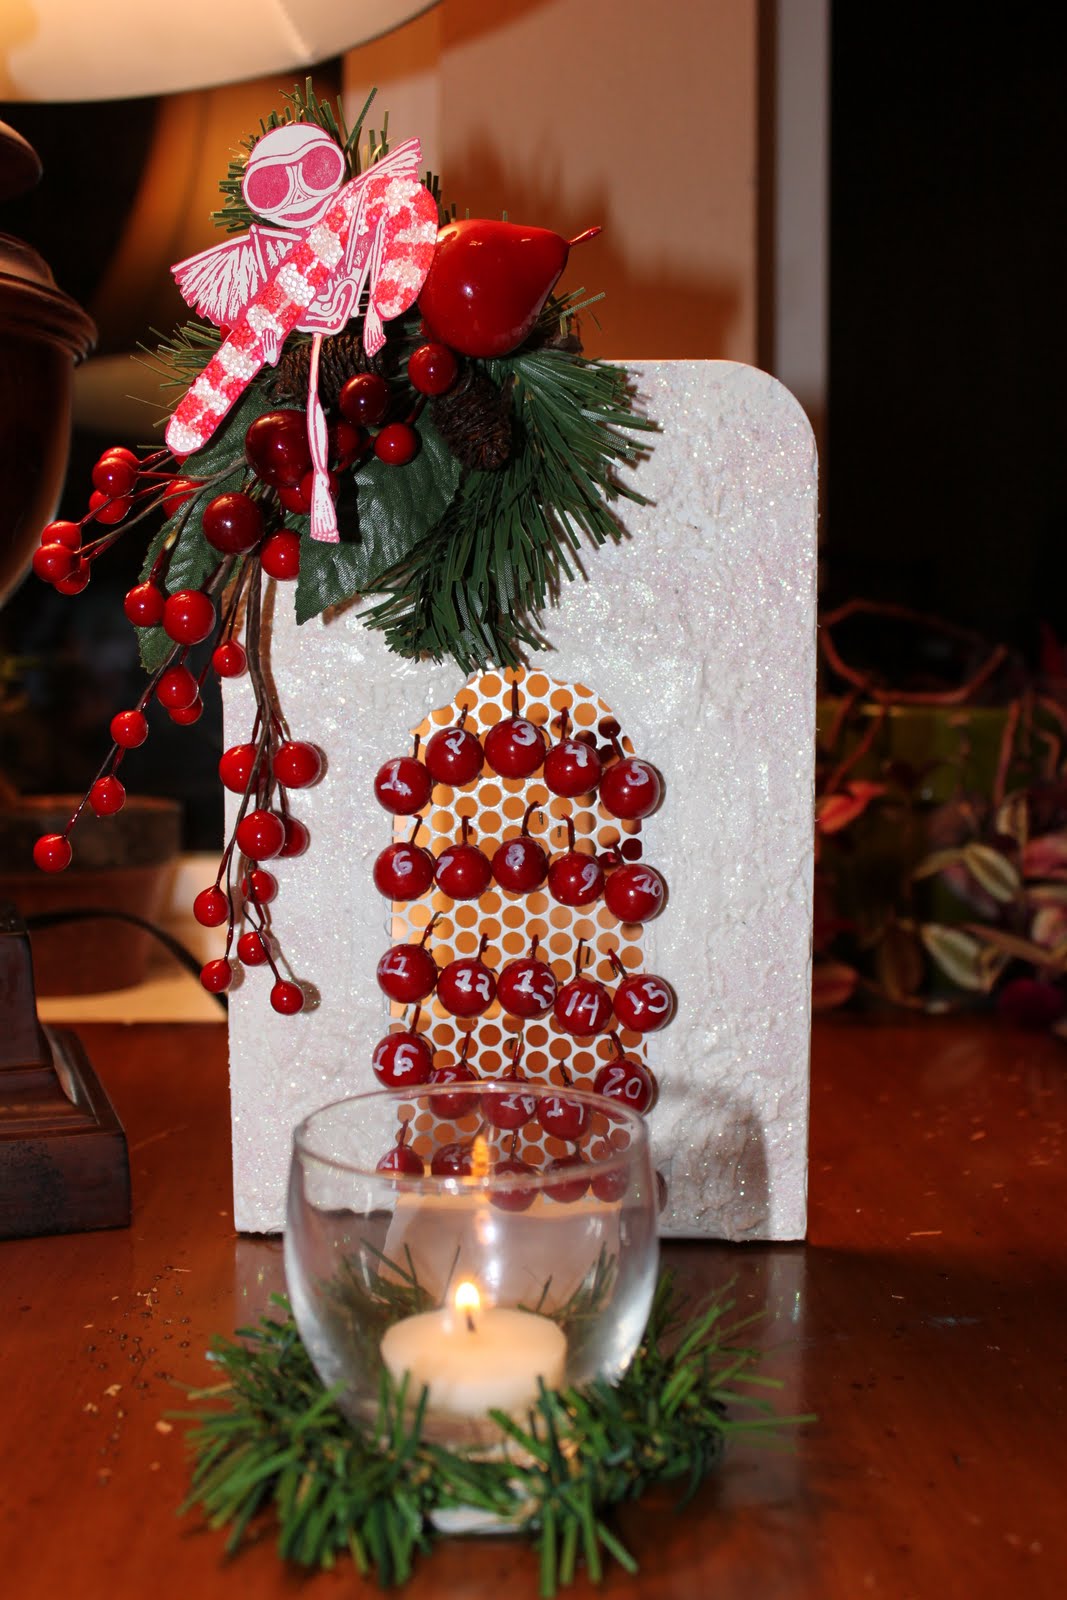
We started with a paper mache hat that I found at the craft store and painted it with deep red glittery paint. Actually, my daughter did all of the painting while I colored my Hades image. She painted red first, then used some paint daubers, like the ones you use for Bingo, to add the cool looking dots all over the hat. After coloring up and cutting out my image, we attached him to the front of the dried hat. Then we painted chipboard letters to spell the word Grinch and attached those. The final touches were punchinella trim, a hanging ball ornament and red ribbon.

It was a super easy, but extremely fun project to make. And I know we'll be using this image again. I have so many ideas for him! Now, be sure to go check out the challenges on the Forum for your chance to win, and hop on over to the other DT member blogs listed below to see more great projects using images from Tellen's Place!

Tori

Alison

Kelli

Black Dragon

Lady Brayton

Meredith

Kapree

Lisa

Wednesday, December 15, 2010

12 Days of Christmas

I just wanted to give you all an update... I'm not sure if I'm going to make all the 12 days posts. Things have gotten REALLY hectic w/hubby gone and all the holiday stuff. I still have tons of gifts to finish and such a short amount of time that I am scrambling to finish, plus I got word that we may be moving soon. SO, I am going to try and hit all the days, but it's pretty much going to come down to whether I have the time to make something. I'm so sorry if I am disappointing everyone, but I encourage you to continue visiting the Jolly Bloggers that are listed in my sidebar as they are posting some fabulous projects for your inspiration.

Saturday, December 11, 2010

12 Days of Christmas: Day 6- Very Skelly Advent Shrine

Welcome back to 12 Days of Christmas on Smeared and Smudged! If today is your first visit and you don't know what it's all about, please visit this post for all the info, and be sure to hop back from the beginning to see all the amazing projects that the Jolly Bloggers have posted so far. We are half way through the hop, and I can tell you that we Smeared and Smudgers definitely have a different and fun way of sharing Christmas projects, and I am truly honored to have such a great group of Jolly Bloggers joining me in the celebration and inspiration!

Today I have made for you a Very Skelly Advent Shrine. I started with an old metal bookend that I found at Goodwill. I spray painted it white, and added some punchinella insert behind the opening. The next step was to cover the front with some spackle, and while wet I stamped into it with one of my background stamps from the Smeared Ink Urban Decay set. You can't really see any definite pattern, but it gave it some cool texture! Then I sprinkled it with glitter, which made it look alot like sparkly snow.


The little hanging balls are from some fake holly (like what's up in the corner). After searching for something small enough to make my advent days (and bitching to Kelli on the phone about it lol) I finally found these in my Christmas deco box. I just snipped them off the branch and twisted the wire that was already attached, then added the wonky numbers with paint pen.


The top decoration is just some Christmas picks that I put together and attached. I stamped out my candycane Skelly from A Very Skelly Christmas, also from Smeared Ink, in red stazon and cut him out. Then I added some crystal glaze and clear mini beads from our odds n' ends section of our shop. When he dried, I attached him so it looks like he's sitting on top of the pinecone.


The candle holder is removable, so I can really put anything there in the front that I want to. Since it's an advent, I can take off a ball each day in December and add them to a little holder, or just leave them there. What I really love about it is it's Christmas-ey, but still has some cool style to it with the Skelly and texture.

I hope it's given you some ideas as well. Be sure to hop on through the Jolly Bloggers (list is in the sidebar), and if you're in the running as a Merry Hopper, be sure you're commenting on each blog to qualify for the prize drawing! See you all on Monday.

Thursday, December 9, 2010

12 Days of Christmas: Day 5- Broken Heart

I'm back with my project as promised! I just used my lesser camera rather than waiting for the other to charge, so I apologize in advance for the not-so-great picture. For today I made an anti-Christmas type of card. This is one that you would send out to that ex who just ripped your heart out, with an extra special "I still hate you" note attached to the inside.


The anatomical heart comes from Smeared Ink's Quoth the Raven stamp set. I kept the colors really simple with black and white, and bold pops of red. The song lyrics were printed on glossy paper, and I added in some brads, punched hearts, glass beads, and wire. The final touch is the "Broken Heart" sentiment by the heart.

This anti-Christmas card definitely gets straight to the point! I hope you've enjoyed taking a look, and if you haven't already, please hop to all the other Jolly Bloggers for great S&S style projects.

12 Days Post

Hi all, I do have a project to share with you, but I completely forgot to charge my camera after my last tutorial. Please swing by a little later today to see my 12 Days Project, I'll have it up as soon as I can :)

Tuesday, December 7, 2010

12 Days of Christmas: Day 4- Hammered Aluminum Art Book

Welcome back to 12 Days of Christmas everyone! Today I am sharing a gift item that I have made. You all know, if you've followed my blog for very long, that I LOVE repurposing old hardback book covers and making new books out of them. Well, I decided to do it yet again and make a mini art/sketch book for my daughter.

But, I do have a surprise for you. As a thanks for being patient with me while I skipped out on my last project to spend time with my hubby, I've made a tutorial for my hammered aluminum technique! You'll see the technique in today's project, and if you want to learn how to do it, you can find the instructions on our new and improving (since we're not done yet) Tutorial Page on the Smeared and Smudged Forum. Just go there and click the button that says Hammered Aluminum; it'll show you how to do the strip and flower.

Now on to the book...
*click for larger pics


After recovering my book cover with deco paper, I used our Inky Dreams stamp set from Smeared Ink to stamp my background ink blotches in acrylic paint. I used some pearl-ex powder all around the edges of the book. I then added the hammered aluminum strip down the front, my feathers, wire, and flower embellishment. The last step was to add in my new journal block. I've included a pic of the back also so you can see how awesome the background stamp is!

I can't wait to see the look on my daughter's face when she sees this, cause I know she'll love it! And I hope you get some ideas for your own projects after you see my tutorial. Now, hop on over to the rest of the Jolly Bloggers by following the links in my sidebar to get some more fabulous 12 Days inspiration.

Sunday, December 5, 2010

12 Days: Day 3

Hi everyone, unfortunately I don't have a project to share with you today. Yesterday was the only day that my husband was going to be home for us to get our Christmas tree and decorate it with the kids, so we spent the day having fun with daddy and doing that. I didn't have the chance to stamp something for 12 days. But I hope you still enjoy the rest of the Jolly Blogger projects! I'll be back on Tues with something terrific!

Friday, December 3, 2010

12 Days of Christmas: Day 2- Washer Ornament

Ok, I have to admit I took the easy way out with this one. I was beyond busy yesterday, and didn't have the time to make the project that I wanted to. So, I made a quick ornament instead. I'm sorry for the super duper simplicity. I'm thinking I may add some pretty red beads to the top of the circle when I find some I like, right under the hanger.


I started with a huge washer from the hardware store. Lady B sent a box of beautiful stuff for the kids that had some of these (thank you SO so much LB!!!!) and I liked them so much that I had to go and buy a few more for myself. The kids wouldn't let me steal theirs, they had too much fun putting them into clay!

Anyways, I attached one of those cool key holes similar to the one I used yesterday, then used the same metallic tape to go around the edge. I took one of the mini fairy jars from our shop and filled it with red and white beads. I stamped the words "The Wonder of Christmas" from our Smeared Ink A Very Skelly Christmas stamp set, cut them out, and wrapped them around the bottle. I attached a red hanging bead with wire, wrapped more wire around the bottle, and hung it from the washer. The final touch was a red bow and the hanger.

I hope you're not too disappointed, but I've come to realize that this 12 days is going to be even harder to accomplish than I thought it would be with my school tests and homemade holiday gifts this year. But, I will stick with it and hopefully bring you some fabulous projects in the future! Thanks for visiting and have fun hopping to the Jolly Bloggers' blogs! (In case you forgot or didn't visit on Wed, you can find the blog list in my sidebar.)

Wednesday, December 1, 2010

12 Days of Christmas: Day 1- Open Grunge Tag

Hello everyone, welcome to the first post of the 12 Days of Christmas on Smeared and Smudged! The Jolly Bloggers are bringing you 12 days of fabulous holiday projects for you to peruse, and we hope you'll join us as a Merry Blogger. If you need to know all the rules and regs for 12 Days, just scroll down to my previous post.

<----------------------------All of the Jolly Bloggers are listed in my sidebar, so when you're done taking a look at my project, be sure to move on down the blog roll and see all the awesomeness!

For my first project I decided to start simple; I made a chipboard gift tag. I used Urban Decay, one of our newest Smeared Ink sets, and one of my new faves I think! I adore this set!

*click to view larger


I stamped my open sign using olive ink and then added distress ink in vintage lace and some bright red stazon. It is mounted on shiny red paper (you can't tell really well in the pic, but it is reflective), and then popped onto my harlequin embossed background.

I wrapped the tag with silver tape and then aged it, and then added my lock with reflective paper behind it, my ribbons, and my red disk and key. The tag is simple, but very pretty in real life. The picture doesn't do it justice because it really is super shiny!

I hope you like it, and I can't wait to share these 12 days with you. Now hop on over to the other Jolly Bloggers, and enjoy!

12 Days of Christmas Rules and Regs


Thanks for joining us for 12 Days of Christmas on Smeared and Smudged! Every other day in December the Jolly Bloggers have committed to sharing a holiday, Christmas, or gift themed project with you.

Here are the rules for the Jolly Bloggers:
Jolly Bloggers committed to making and displaying one stamped project on your blog for 12 Days in December. The project must be handmade and posted by 9:00 am Pacific Time every day. The project must be stamped, with either a rubber stamp or digi stamp used somewhere, and must be either Christmas or Winter Holiday themed or be a gift item. The project cannot be ALL digital, such as a digi scrapbook page, but can use digital elements in the overall project. To qualify for the prize drawing at the end of the month, Jolly Bloggers must post a project EVERY SCHEDULED DAY in December. If they miss a day, they will still qualify to receive a survival button, but will not qualify for the prize drawing.

For those of you who are not Jolly Bloggers, we'd like to invite you to join in as a Merry Hopper and leave comments on all of the projects for a chance at the prize drawing as well.

What You Have To Do: Hop through each of the 12 Days Blogs that are participating and leave a comment on each project.


Here are The Rules for Merry Hoppers:
Merry Hoppers must leave a comment on EACH participating blog every day to qualify for the prize drawing. Their comment should be about the project or something related (ie-no "Here's my comment for today" or "I'm here!"...these types of comments won't count!) If you miss a day or a blog, you will still qualify to receive a survival button, but will not qualify for the prize drawing.

If you can't comment every day, that's okay, we'd still love to have you join us when you can and give us your input on our projects!

Here is the posting schedule for 12 Days:
Wednesday December 1st
Friday December 3rd
Sunday December 5th
Tuesday December 7th
Thursday December 9th
Saturday December 11th
Monday December 13th
Wednesday December 15th
Friday December 17th
Sunday December 19th
Tuesday December 21st
Thursday December 23rd


Prize Drawing
At the end of the 12 days (on December 24th) we will be drawing for a fabulous free stamp set from Smeared Ink, along with some other goodies! The set up for grabs is A Very Skelly Christmas. It'll be a great set to add to your collection and help you get a start on next year's projects!


Each person who successfully completes the 12 Days as either a Jolly Blogger or a Merry Hopper will receive one entry toward the prize drawing. If you successfully complete both, you will receive two entries. (Meaning if you are a Jolly Blogger and you comment on every blog every day, you have successfully completed both)

So, there you have it, all the rules and regs for 12 Days of Christmas on Smeared and Smudged. We hope you'll join us throughout the month!